
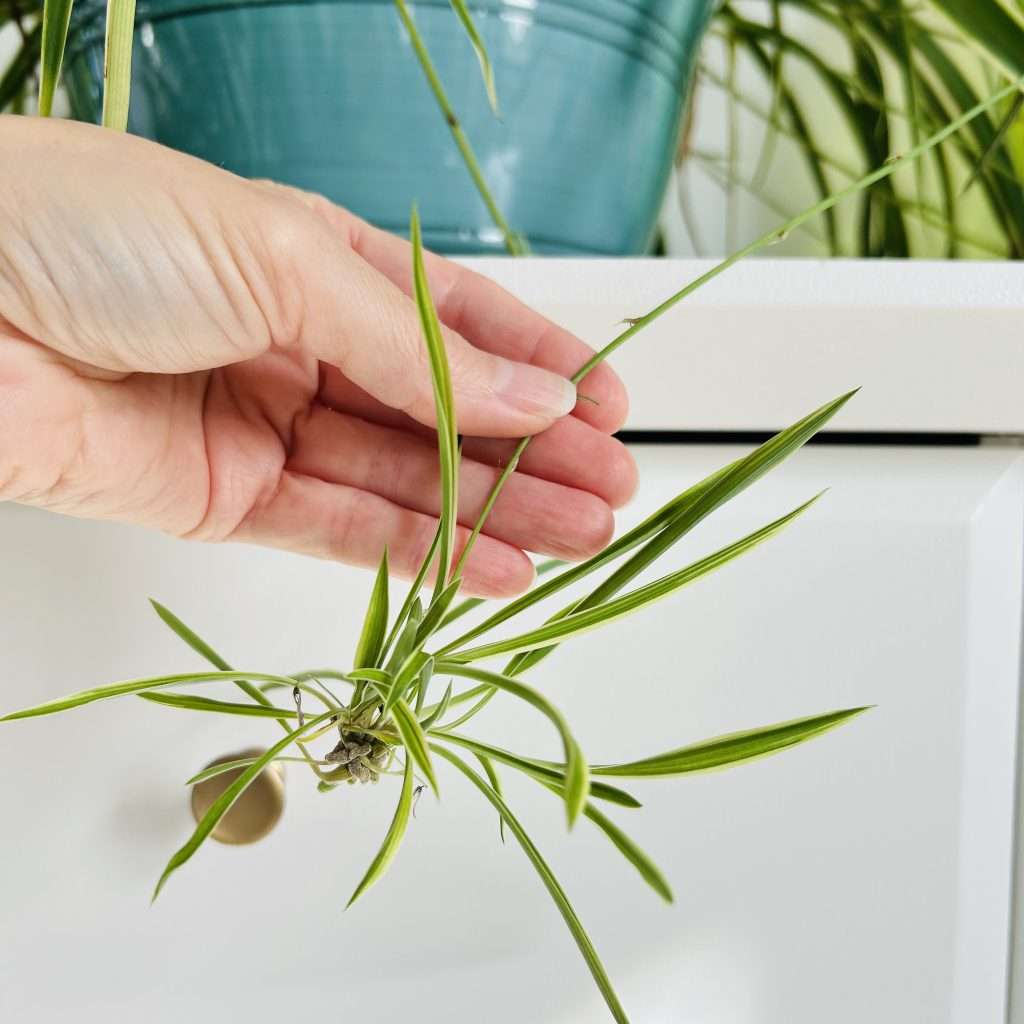
Spider plants (Chlorophytum comosum) are one of the most beginner-friendly houseplants out there. They’re tough, forgiving, and best of all, they make propagation ridiculously easy. Those long, arching stems produce adorable little “babies” (also called spiderettes or pups) that dangle like miniature versions of the parent plant. With almost no effort, you can propagate spider plants, turning one spider plant into many—perfect for filling your home, sharing with friends, or even starting a little side hustle.
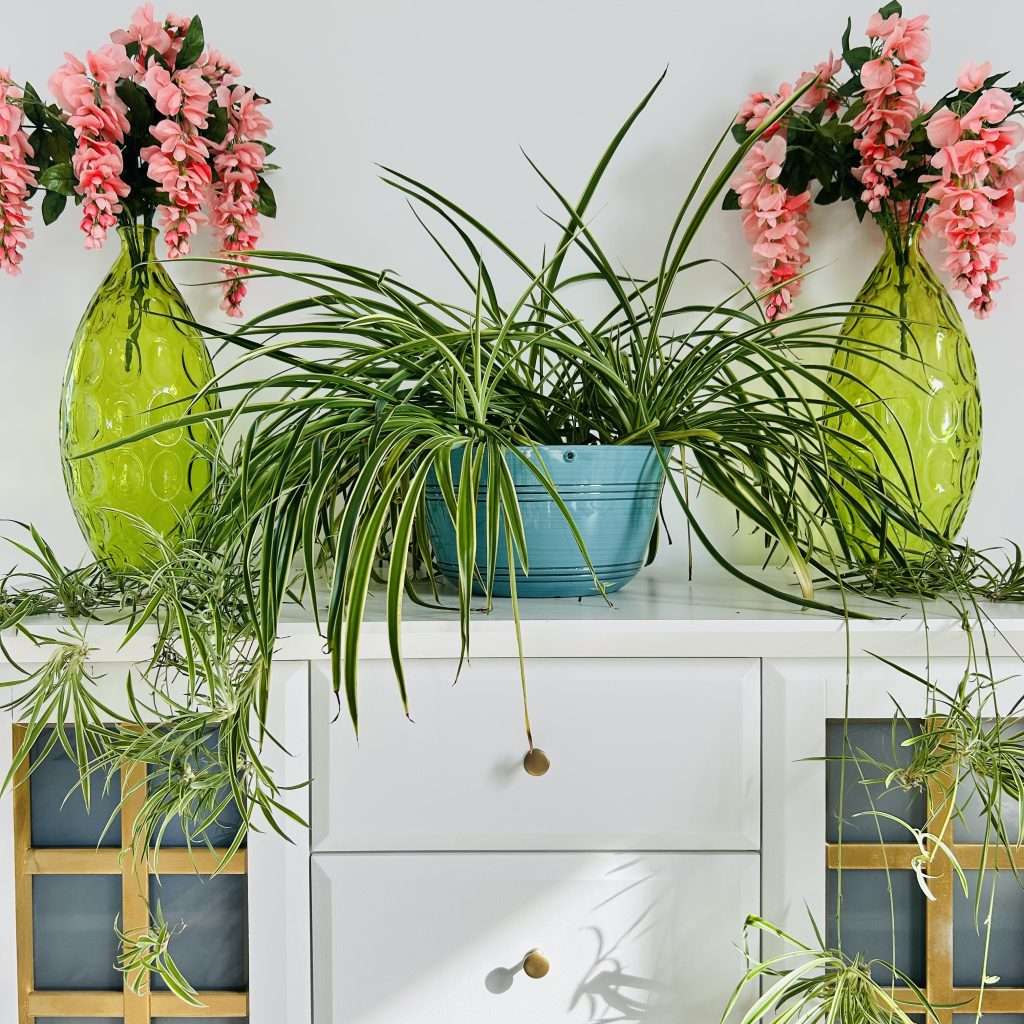
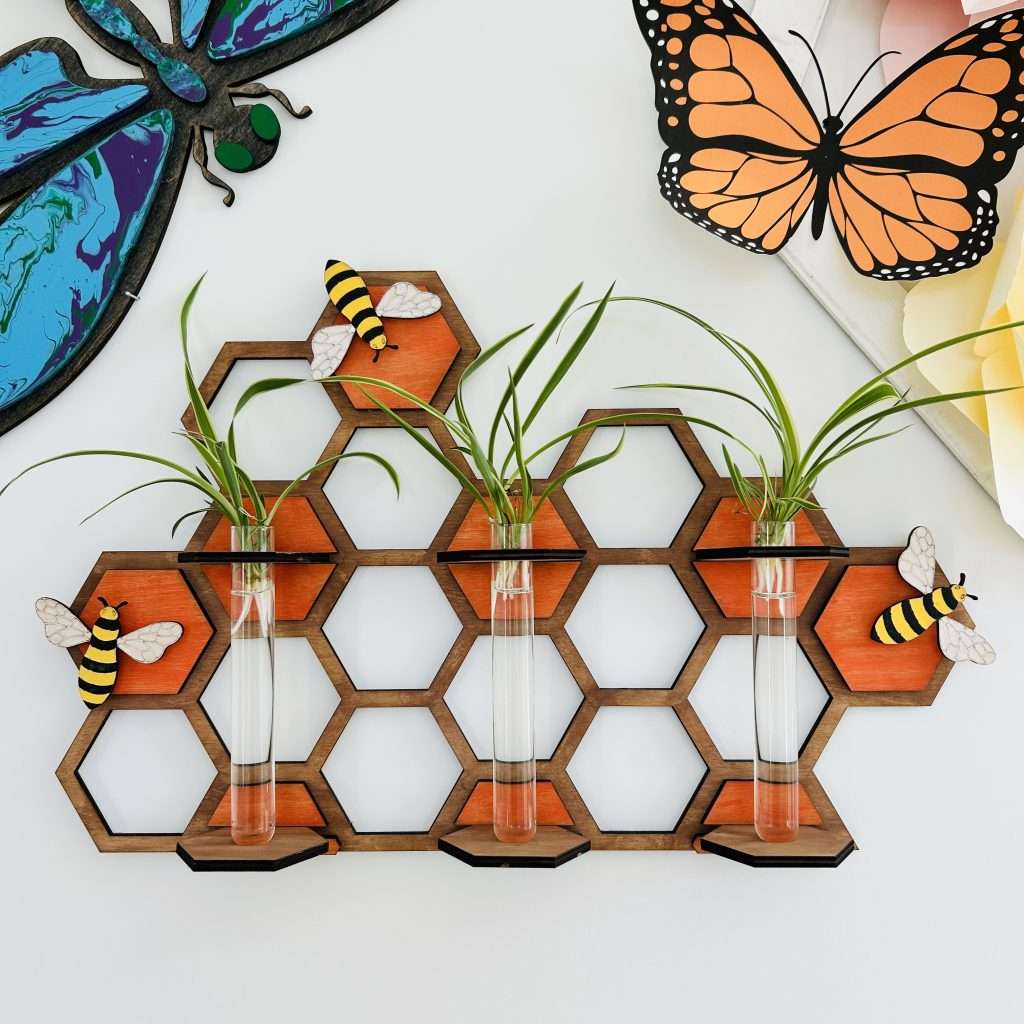
In this guide, I’ll walk you through the most popular and reliable ways to propagate spider plants, focusing on the spiderette method (by far the easiest and most common).
Why Propagate Spider Plants?
- It’s free and fast (roots often appear in 1–3 weeks).
- Spider plants thrive in bright indirect light and average room conditions.
- They’re great air purifiers and pet-safe (non-toxic).
- Propagating encourages the mother plant to produce even more babies.
Best Time to Propagate Spider Plants
Any time of year works indoors, but spring and summer (when the plant is actively growing) give the quickest results. Choose healthy spiderettes that have started forming small root nubs or look plump and green.
Method 1: Rooting Spiderettes in Water (Fun to Watch)
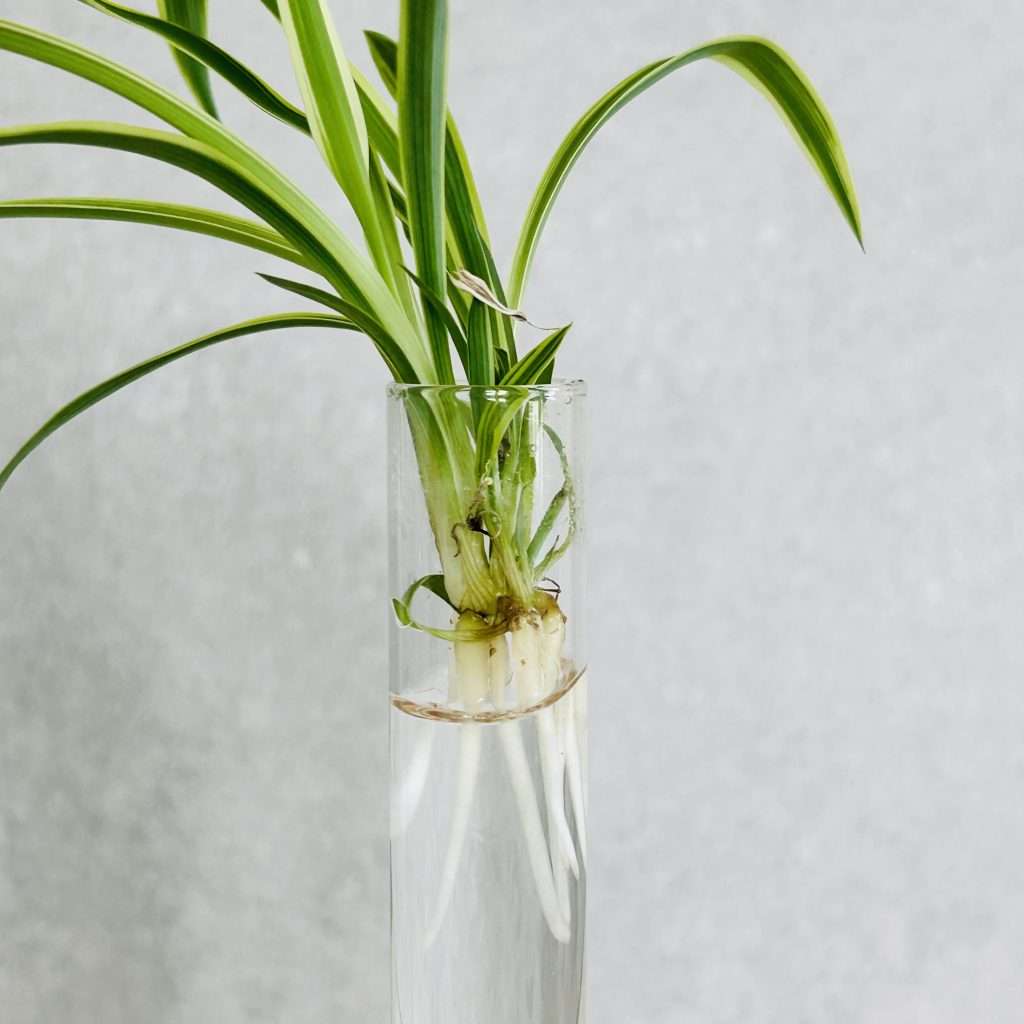
Great if you love seeing roots develop before your eyes!
What you’ll need:
- Clear glass jar, vase, or propagation station
- Room-temperature water (filtered or rainwater is best—spider plants dislike fluoride in tap water)
- Clean scissors or pruners
- Pot with drainage holes (for when you eventually plant your propagated spiderette)
- Well-draining potting mix (standard houseplant soil or a mix with perlite/vermiculite)
Steps:
- Cut a healthy spiderette from the runner, leaving a short bit of stem if possible.
- Choose the largest most mature spiderettes to cut.
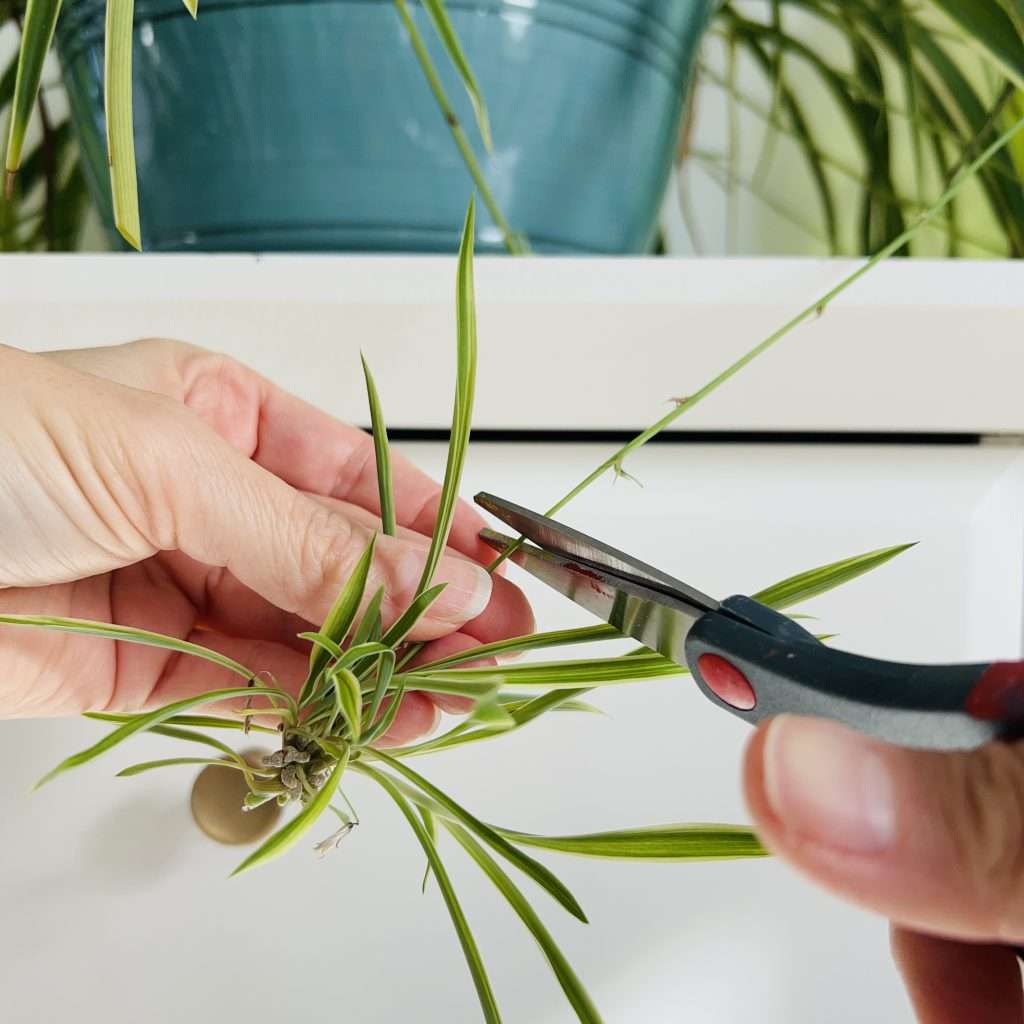
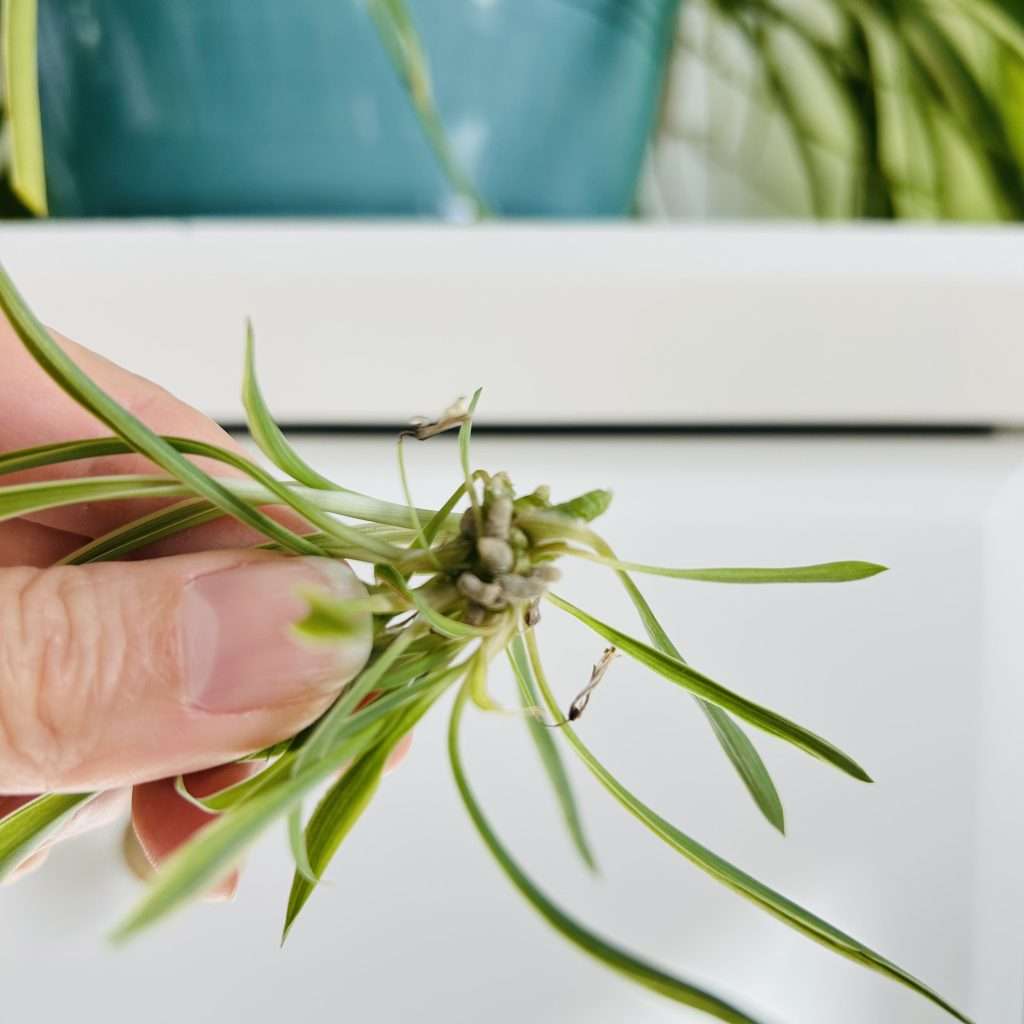
2. Place the base in water so only the root nodes are submerged (keep leaves out of water to prevent rot).
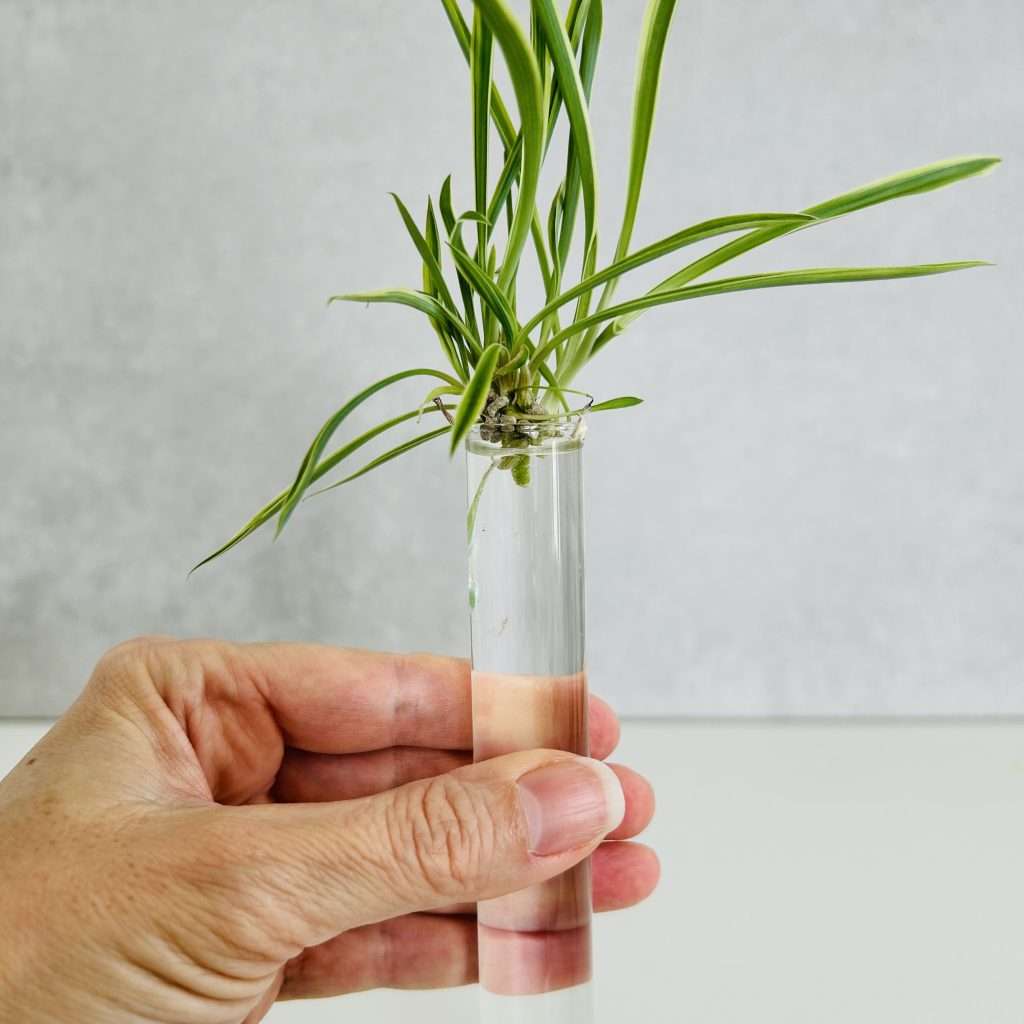
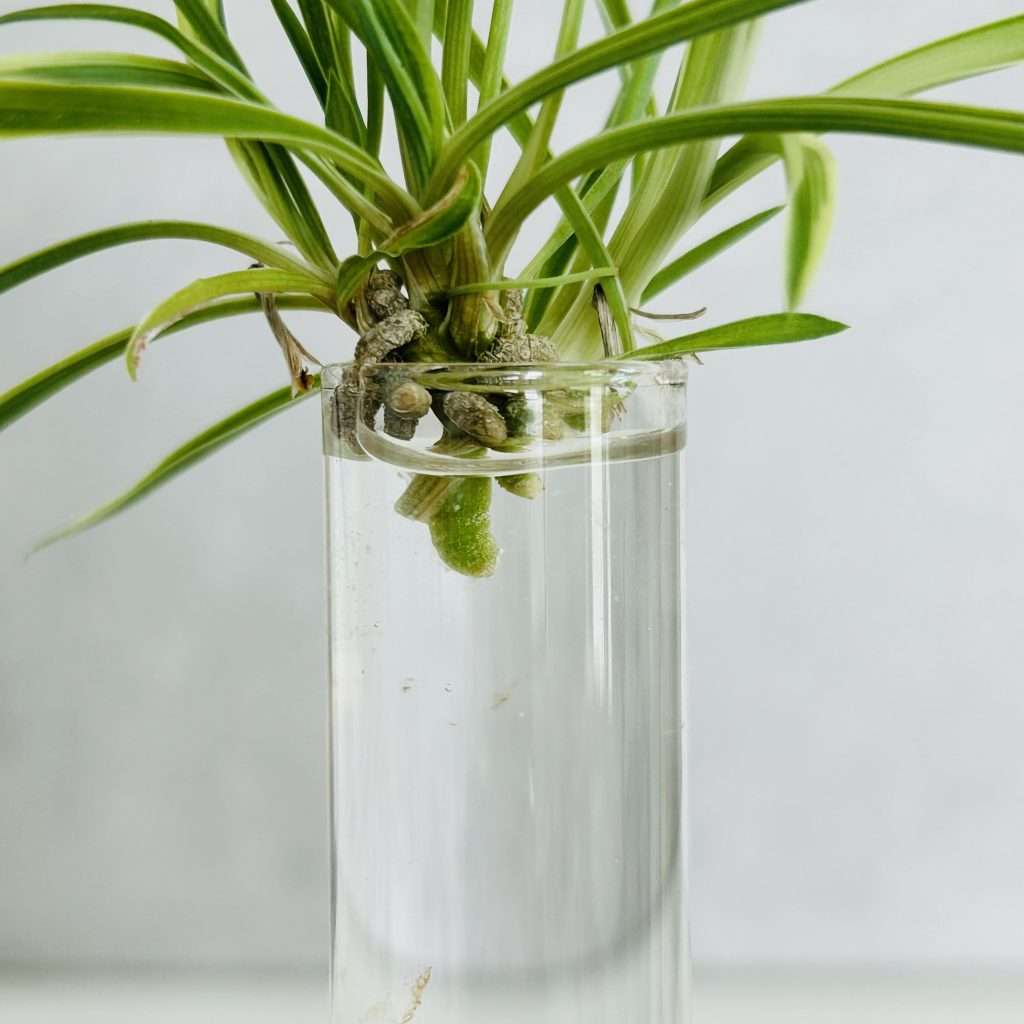

3. Place in bright, indirect light.
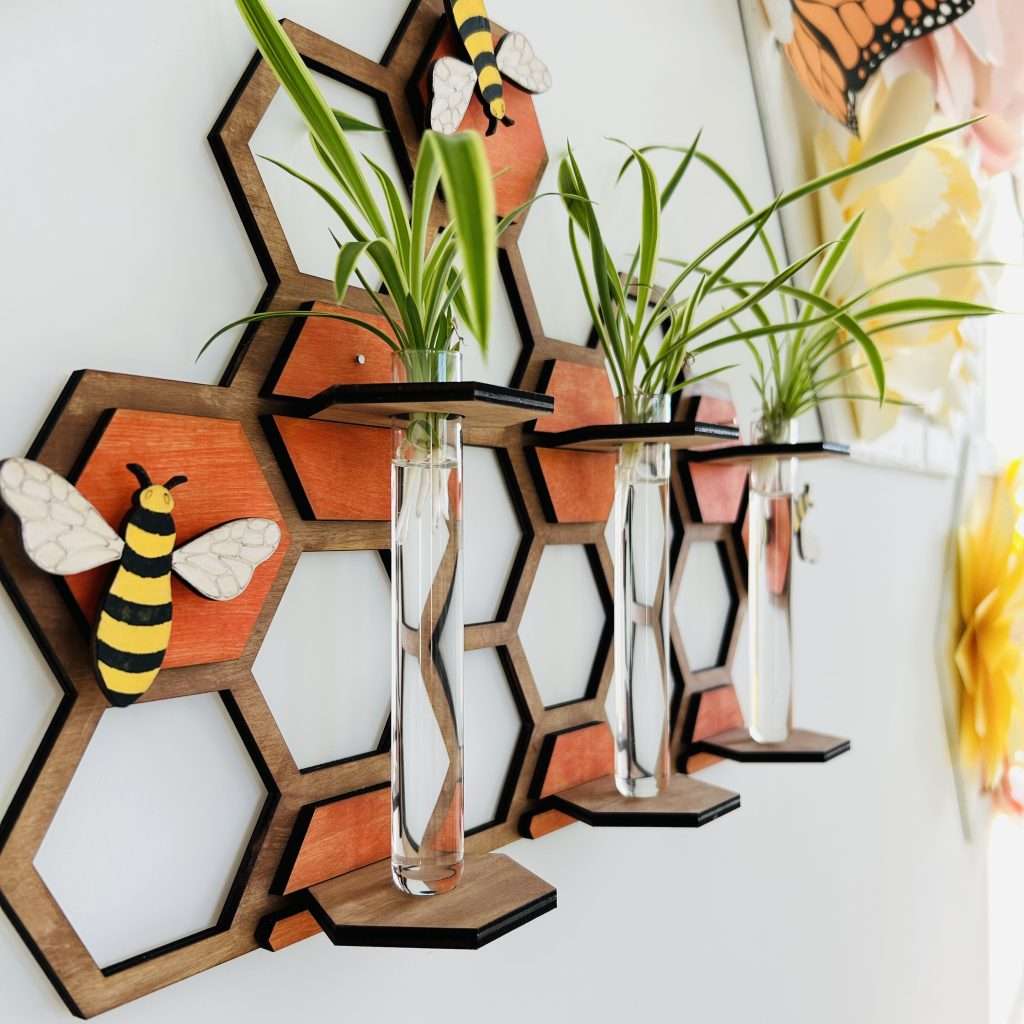
4. Change the water every 3–5 days to keep it fresh.
5. Roots usually appear in 7–14 days. Wait until they’re 1–2 inches long.
6. Transfer to soil: Plant in moist potting mix, water gently, and treat as a new plant.
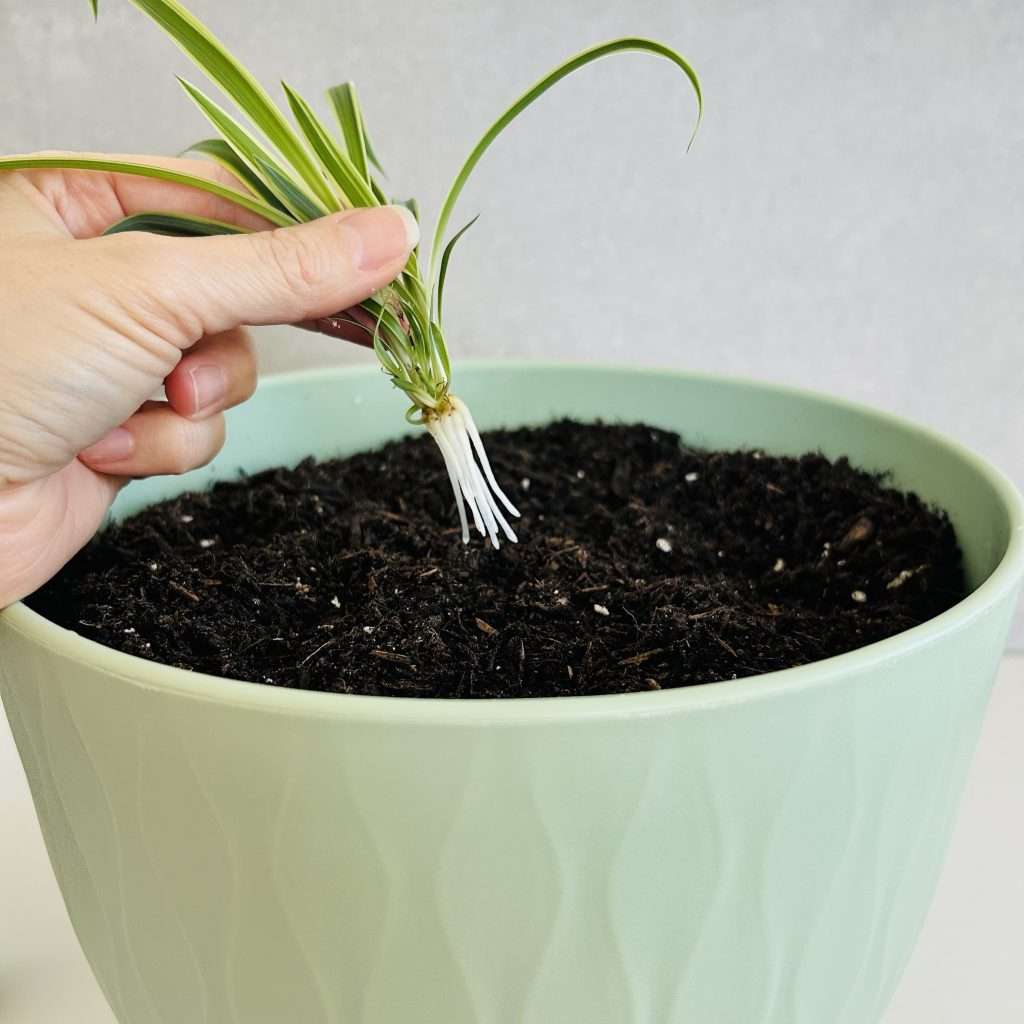
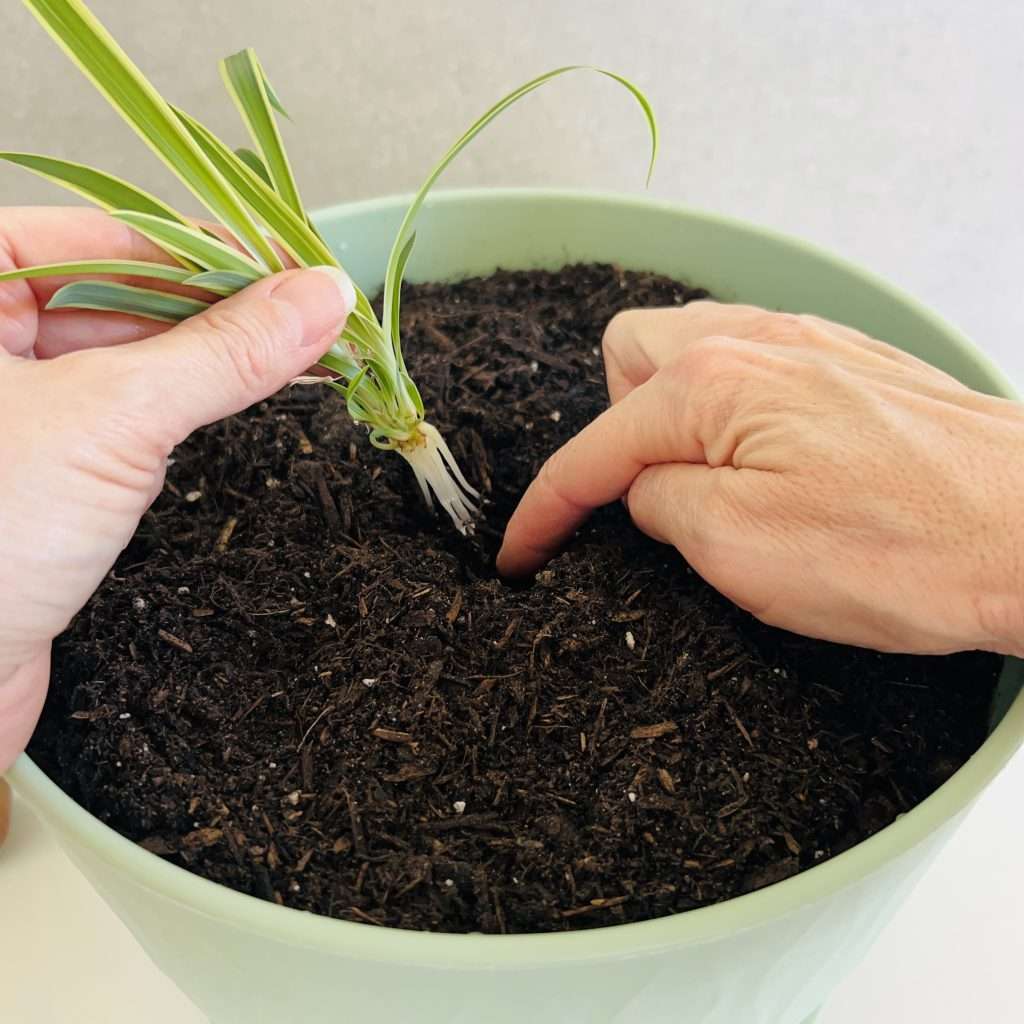
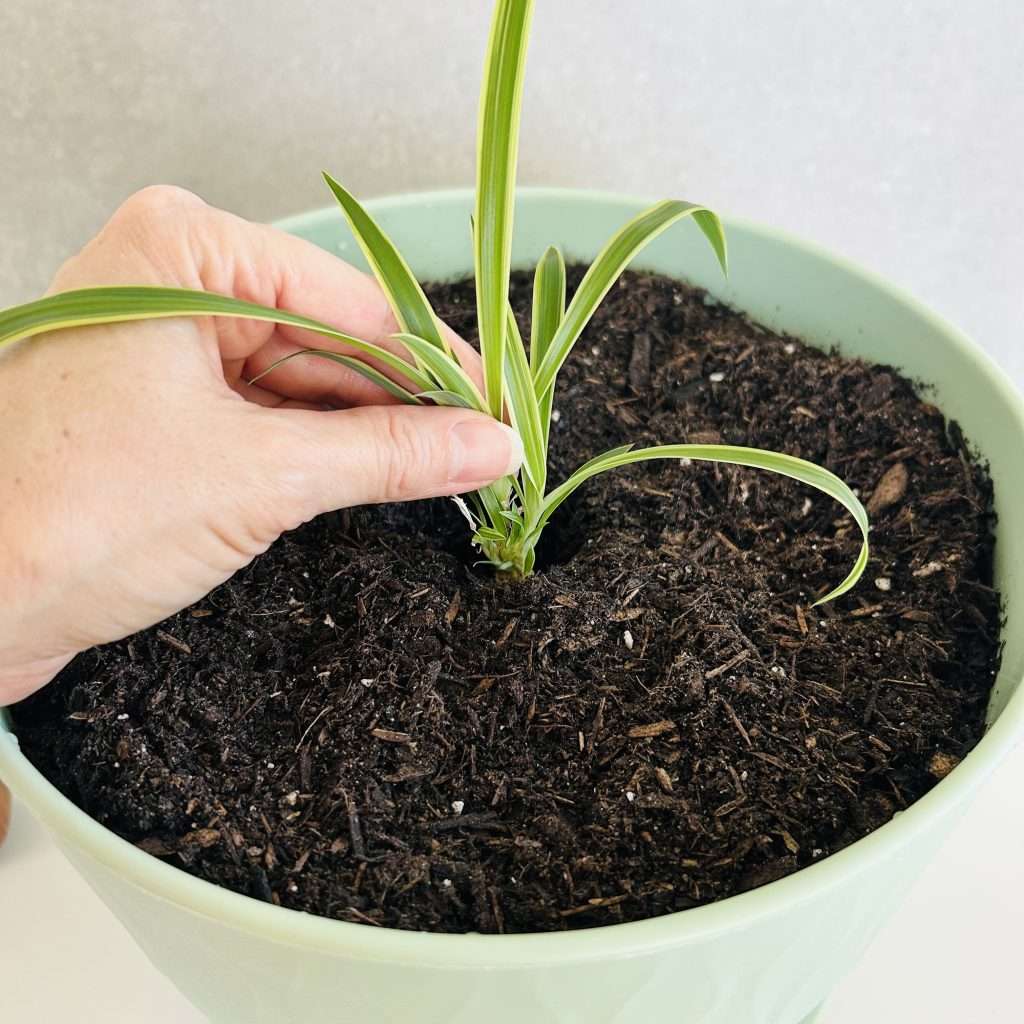
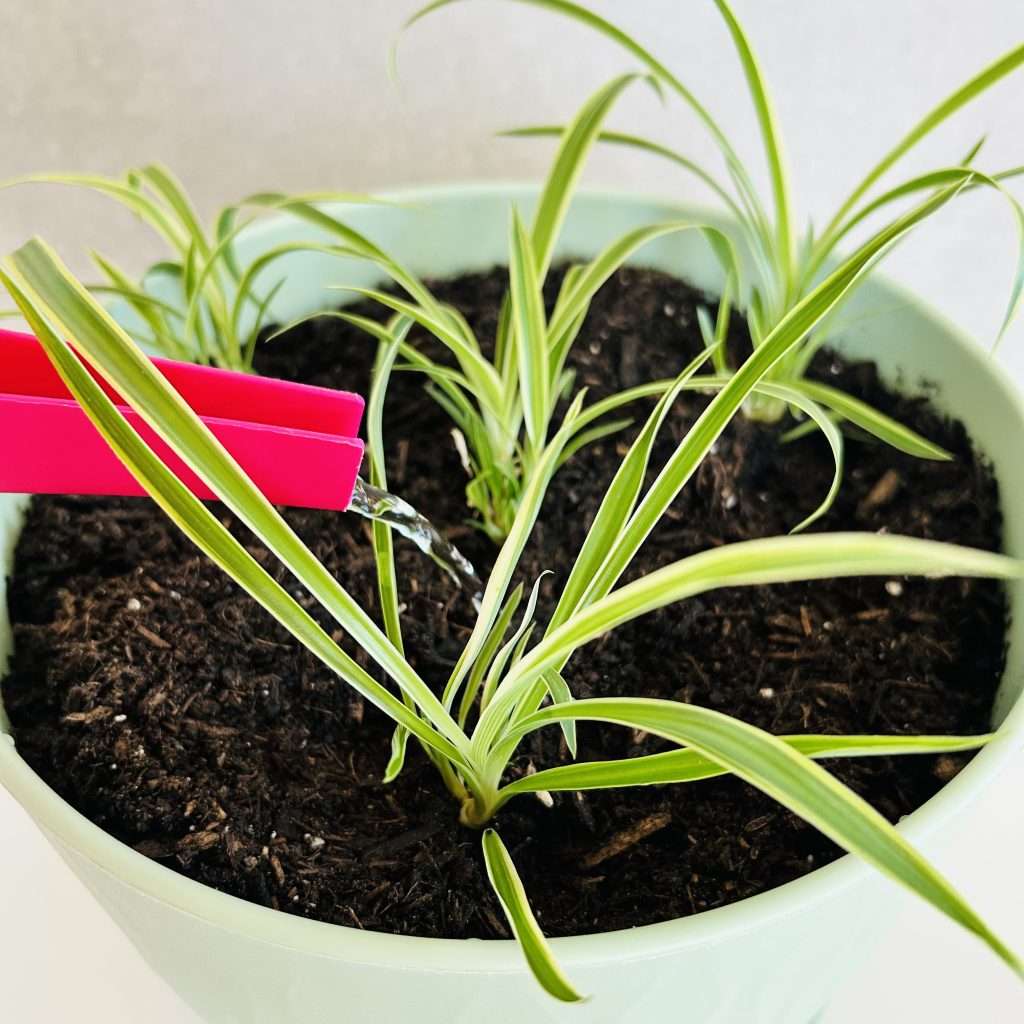
Method 2: Rooting Spiderettes Directly in Soil (Easiest & Fastest for Most People)
This method skips the water step entirely and often produces stronger roots.
What you’ll need:
- Pot with drainage holes
- Well-draining potting mix (standard houseplant soil or a mix with perlite/vermiculite)
- Clean scissors or pruners
Steps:
- Fill a pot with potting mix.
- Cut a healthy spiderette from the runner, leaving a short bit of stem if possible.
- Choose the largest most mature spiderettes to cut.
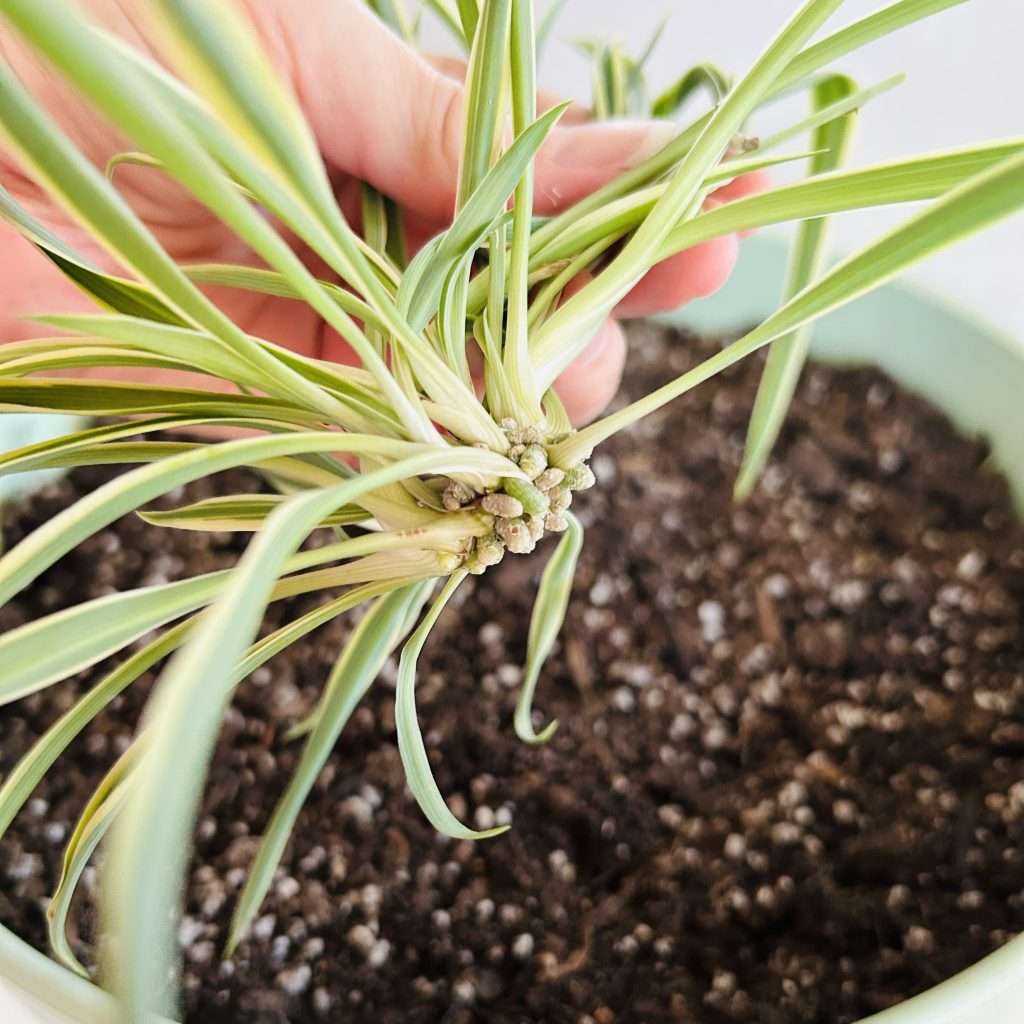
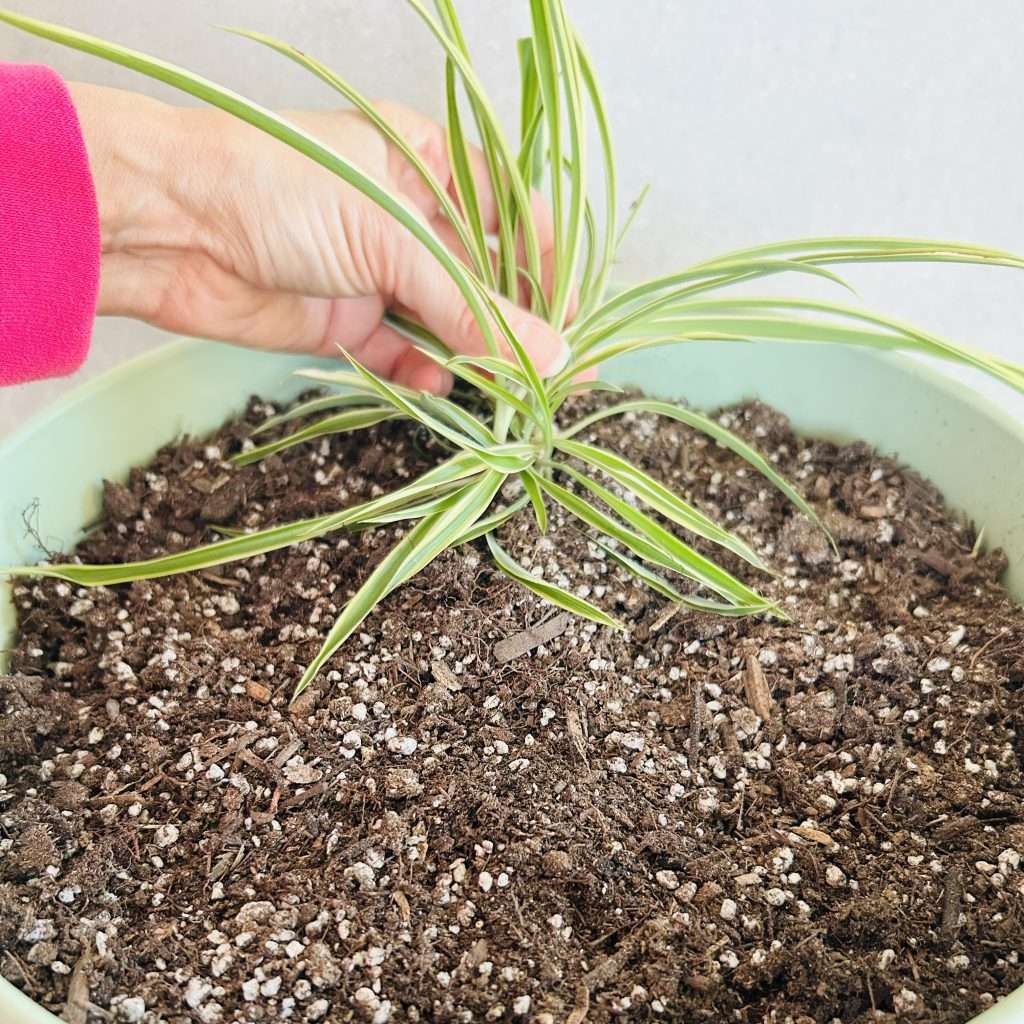
3. Make a small hole in the soil, place the spiderette’s base in it, and firm the soil around it so the leaves stay above the surface.
4. Water lightly to settle the soil (if you have a larger pot, you can plant multiple spiderettes).
5. Place in bright, indirect light. Keep soil consistently moist (not soggy) for the first few weeks.
6. In 2–4 weeks, give a gentle tug—if it resists, roots have formed!
Troubleshooting Common Propagation Problems
Spiderette turns brown or mushy:
Too much water. Make sure only the roots are submerged in water or that soil isn’t waterlogged.
Leaves curl or wilt:
Too much sun or dry air. Move to softer light and lightly mist if needed.
No roots after 2 weeks:
The spiderette may have been too young. Give it more time or try a new spiderette.
Care for Your New Baby Spider Plant
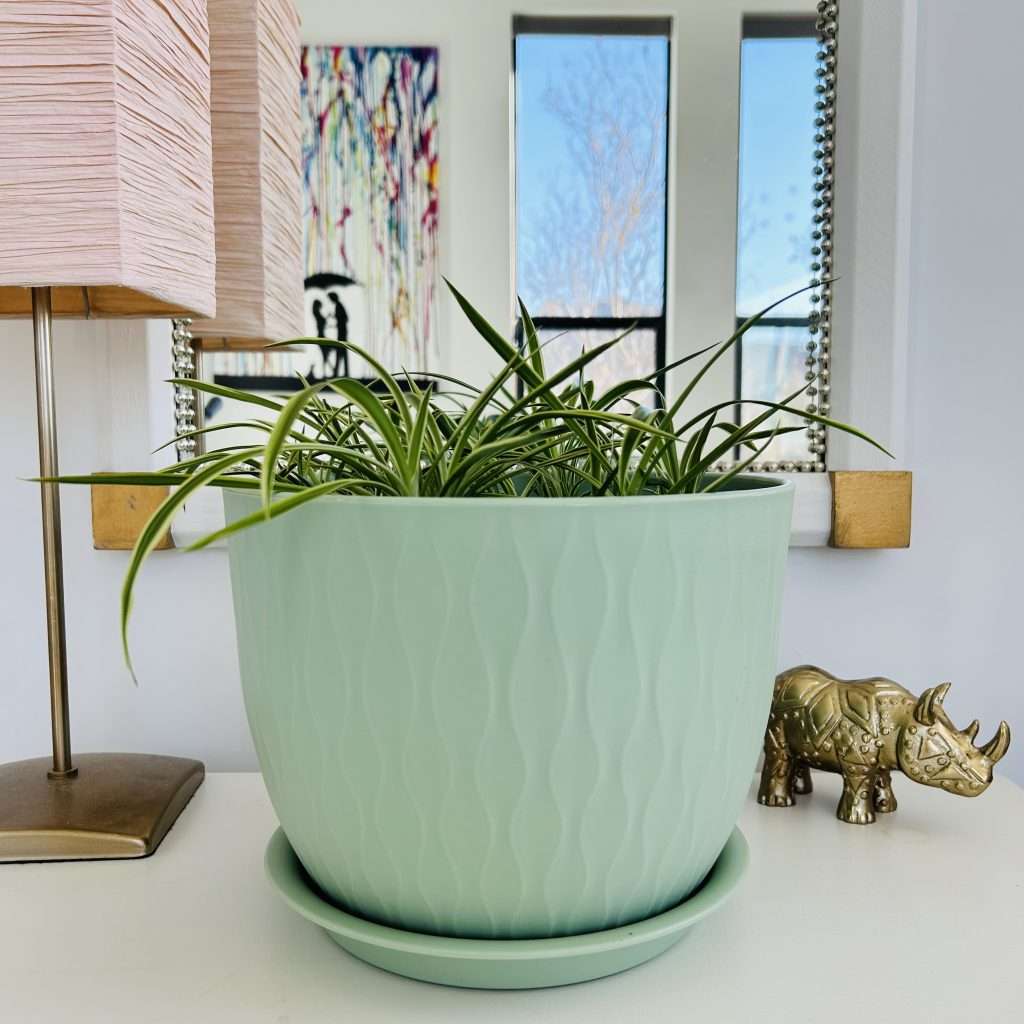
Once planted, give your new spider plant:
- Bright, indirect light
- Slightly moist soil for the first few weeks
- A gentle start (avoid fertilizing until it’s established)
Within a month, you’ll see new growth—and before long, the cycle will begin again with new spiderettes of its own.
Final Thoughts
Spider plants are one of the most beginner-friendly houseplants to propagate. A single plant can give you dozens of new ones over time, making it perfect for gifting, decorating, or filling your home with lush greenery.
If you’ve never tried plant propagation before, this is the plant to start with—you’ll be hooked.
Make our Buzz & Grow Propagation Station in your own home with one of our Mobile Event Classes!
Stencil is a mobile craft studio offering craft events in the Metro Phoenix area.

Author: Nicole Bolin