
The holiday season is the perfect time to embrace the joy of handmade crafts. What better way to add a personal touch to your Christmas tree than by creating a charming reindeer ornament stuffie? Great for beginners, this project is a delightful way to infuse your decorations with warmth and creativity. Let’s dive into how you can make your own reindeer ornament stuffie step by step!

Skill Level: Beginner
Cost of Materials: $10 (makes 3 reindeer)
Time to Complete: 1.5 hours
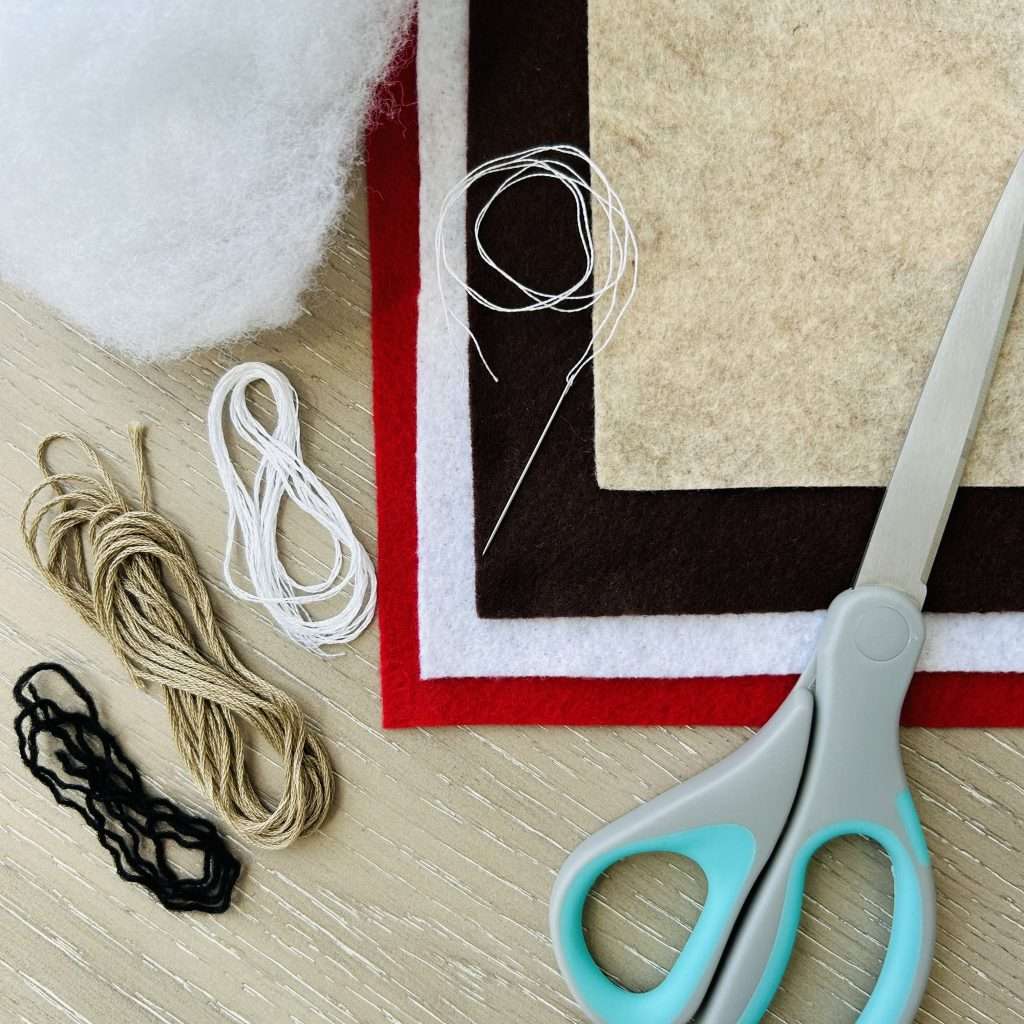
Materials you’ll need
- Felt: Red, White, Walnut Brown and Sandstone (or any colors you prefer)
- Embroidery floss: Mocha Brown, Black and Snow White
- Stuffing: Simply use some Cotton Balls if you have them or use Fiber Fill
- Embroidery Needle #5: You only need 1 but this set is inexpensive if you don’t have a needle
- Pattern: Provided below
- Scissors
- Tape
- Pencil/Pen
Cost of Materials – $10 or Less!
One of the great things about this project is that it’s really inexpensive to make. You probably already own around half the materials required (scissors, tape, cotton balls and maybe an embroidery needle). Even if you don’t and you have to buy everything, your cost will still be $10 aaand you can actually make 3 reindeer ornaments stuffies out of that $10 in supplies!
I purchased all my supplies from Michaels and have provided links to them in the materials list above. I don’t think I have ever purchased something from Michaels where they didn’t have a coupon for at least 20% off, so the pricing I am showing is with 20% off. You might luck out and they’ll have a coupon for 30% or even 40% off!
| Material | Cost per | Total Cost |
| Felt | $0.55/sheet | $2.21 |
| Embroidery Floss | $0.63/skein | $1.89 |
| Stuffing | $0 if you already have, or $2.39 for cotton balls | $0 or $2.39 |
| Embroidery Needle | $0 if you already have, or $3.99 | $0 or $3.99 |
| TOTAL | $3.86 to $10.48 |
Specific info about the Materials

The felt sheets are 9×12″ in size and that gives you enough felt to create 3 separate reindeer ornament stuffies!
Felt is an excellent choice for beginners because it doesn’t fray and has a sturdy structure, making it easier to work with than other fabrics. If you want to make herds of reindeer to spread festive cheer throughout your home or to gift them, then you may be better off buying felt by the yard online.
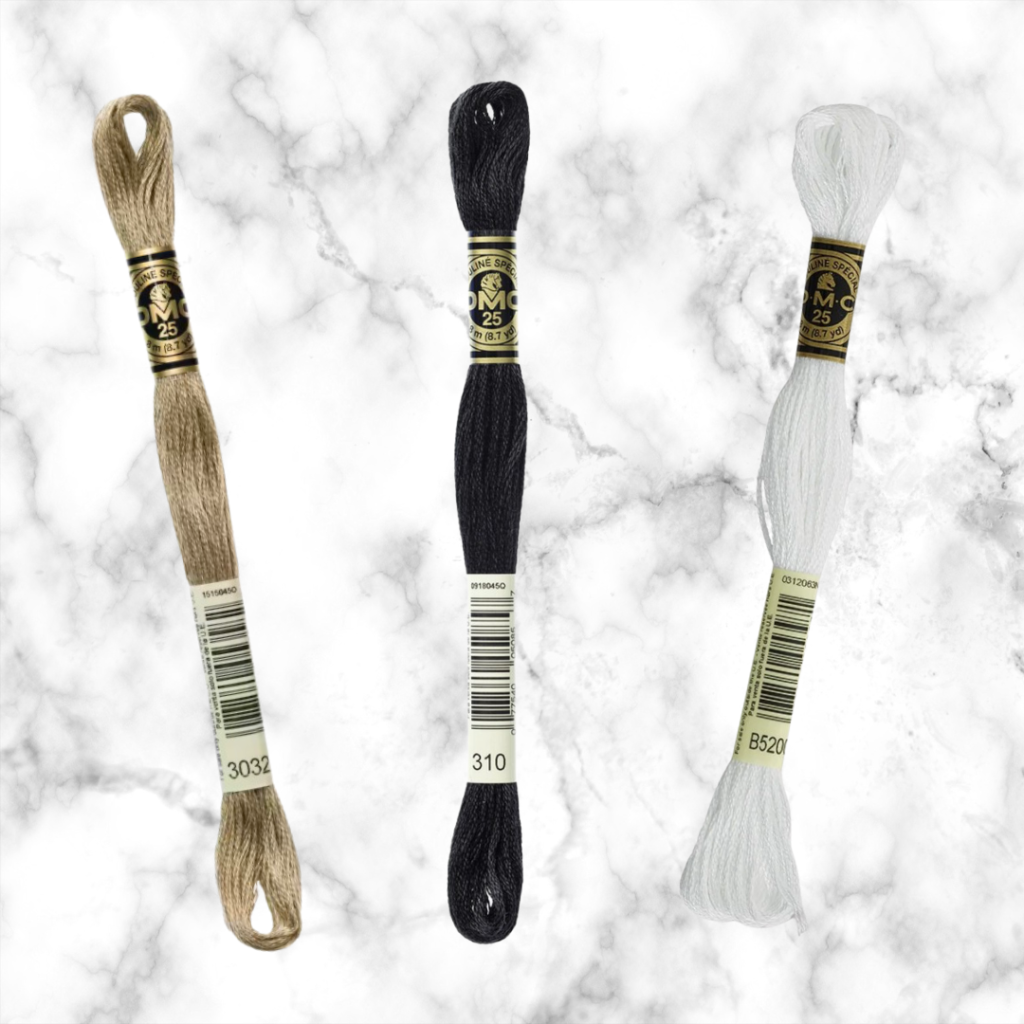
The 3 skeins of embroidery floss will give you enough to create 6 stuffies.
Stuffing
Fiber fill or Poly-fil (brand name) is what most people use to create stuffies. But if you don’t have any, cotton balls can be used instead. You can also use stuffing from an old pillow or stuffed animal.
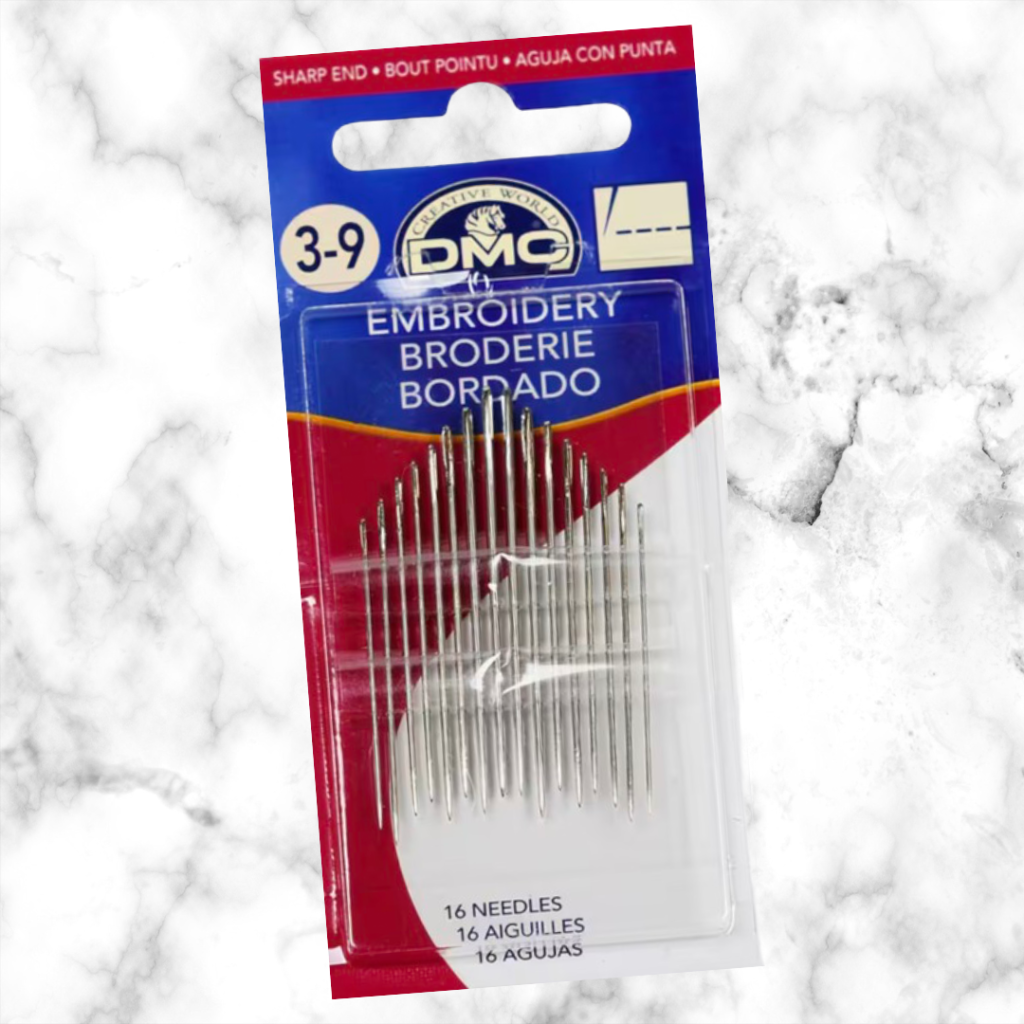
For this reindeer ornament stuffie I used a #5 embroidery needle, but you may be able to use a sewing needle, if that’s what you have on hand
Embroidery needles differ from sewing needles in that they have a larger eye on them. As you’ll see in the video, we’ll use a single strand of embroidery floss (single thread) for sewing the white face/chest to the body and then sewing the body together. However for the eyes, nose and mouth we will be embroidering them with 3 strands of the floss.
Trying to thread 3 strands through the smaller eye of a sewing needle will be challenging, but probably doable (I’m not sure as I haven’t tried). But you’ll definitely need a needle threader to do that, because I needed one to get 3 strands through the larger eye of the embroidery needle. If you don’t have a needle threader I’ll be showing a simple hack in the video using some tape and scissors!
Pattern for your Reindeer Ornament Stuffie
As you’ll see in the video, I cut my pattern out onto vinyl using my Cricut machine. But if you don’t have a Cricut (or Silhouette) machine, no worries! You can simply print the pattern out using your printer and cut the pattern pieces out by hand. If you’re planning to use a Cricut/Silhouette machine to cut your pattern into vinyl, you’ll want to use the SVG pattern. If you’re planning to print your pattern out using your printer, you’ll want to use the PDF pattern.
Free PDF Pattern
Sometimes printers will print the size of an image incorrectly. This is often due to how you have your print scale settings defined. You generally want to print at 100% scale, but may find you need to adjust this number to get the reindeer pattern to print with the correct size. We’ve listed the correct measurement for one of the body pieces on the pattern. Print your pattern, then measure the body. If the sizing doesn’t match, increase or decrease your print scale accordingly until it matches.
Free SVG Pattern
I created this pattern using Lightburn software. Sometimes when importing an SVG file created in Lightburn into other software programs like Cricut Design Space, the sizing is off. I don’t know why this happens, but sometimes it does. I’ve included the dimensions in the SVG file so that way you can resize the images accordingly, if necessary.
Conclusion
This hand-stitched reindeer ornament is a great project for beginners. Why? Because you’ll learn the whip stitch and some basic embroidery all for less than $10, and only 1.5 hours of time!
Once you know how to make these, stitch a whole herd and get creative:
- Experiment with Colors: While traditional colors are lovely, don’t be afraid to experiment with non-traditional colors for a unique look.
- Personalize It: Embroider initials, year, or other small details to make each reindeer special.
Creating a handmade ornament like this reindeer is a wonderful way to celebrate the season and create memories that will last for years. Happy stitching, and may your holidays be filled with joy and creativity!
Join our instructor-led class and learn how to hand stitch your own felt reindeer ornament. Sign up now to craft some holiday magic!
Stencil is a mobile craft studio offering craft events in the Metro Phoenix area.

Author: Nicole Bolin